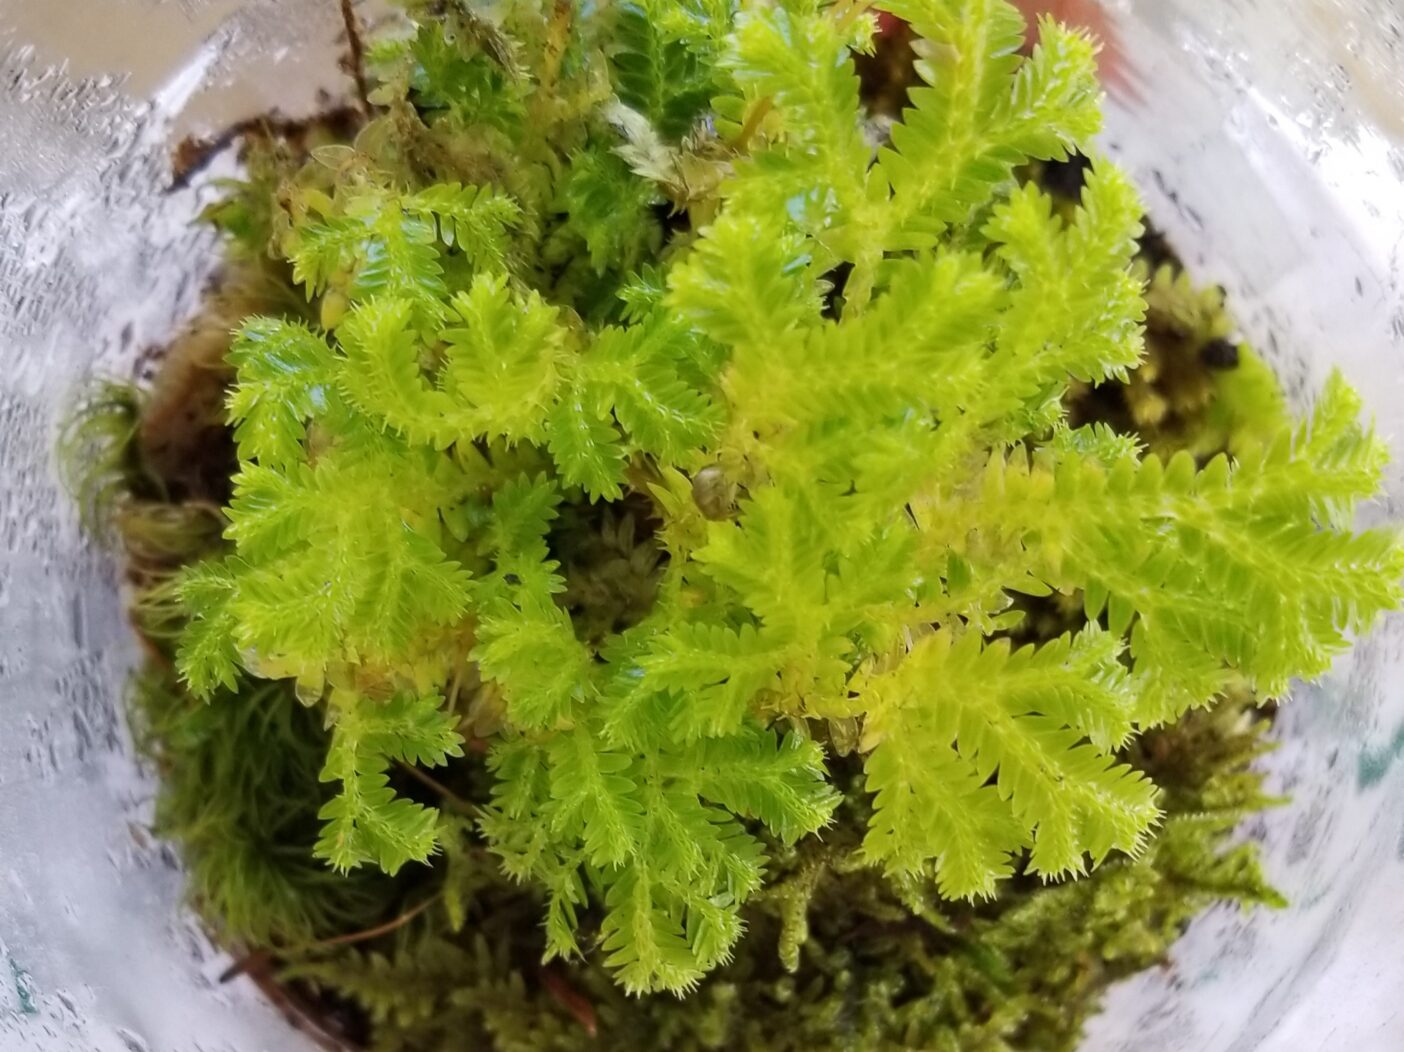
Closed terrariums — if given perfect conditions — can thrive on their own forever. Planted and sealed inside closed vessels, the added soil, plants, and water produce their own little ecosystem, recycling the water, moisture, and humidity inside their glass worlds. I like to think of terrariums as living snow globes (minus the snow, of course). “Grow-globes,” if you will! They bring a little bit of the outdoors indoors. Read on to learn what terrariums are and how to make your very own closed terrarium!

Unlike open-air terrariums, which require watering, the enclosed versions are usually only watered once and then sealed. Plant choice for enclosed terrariums leans toward tropical varieties, including mosses and ferns, given the conditions the closed terrarium would provide. Think of a forest understory — damp, dark, rich greens, reds, and purples with rocks and wood.

What do you need to make a closed terrarium?
You might already have almost everything you need on hand:
-A vessel, jar, or container, made of glass and preferably one that comes with a lid (cork, metal lid, tree cookie). For my first terrarium, I used a mango puree bottle, and for my demonstration videos I used two different mason jars. Wholesale-sized glass containers are ideal for bigger displays.
-Any pebble base, small stone, crushed shell, etc. must be small enough to fit in your container! I used Rio Grande river rock I purchased online. This layer of material allows for necessary drainage and absorption; be sure to cover the bottom fully.
-Soil. Potting varieties are fine. This layer should be at least twice as thick as your pebble layer. Your plants will need room to grow, both in height and in depth in the soil, so consider your space.
–Plants! This is the fun and overwhelming part because there are so many options. I recommend first looking through photos and examples of closed terrariums online. You’re going to see plentiful choices of ferns, mosses, and vining plants, among others. Record what you like. Before you buy, check your yard for plants such as small ferns or mosses. If you can’t harvest anything, look for plant vendors online using global marketplace search engines such as Etsy or Facebook Marketplace.
–Décor, although this is entirely optional. Your “grow-globe” could include props like fairy garden supplies (readily available online), or other natural materials like pine cones, stones, and driftwood. Just remember the size of whatever you add must be able to fit through the opening!
-Assistive tools, such as chopsticks or long tweezers, scrap paper, a funnel, and paper towel. These items will help you maneuver the terrarium space.

Other things to note about prepping your materials for your closed terrarium:
–Always make sure you clean materials you’re going to introduce into your closed terrarium. It can be affected by plant diseases.
–Closed terrariums are damp and wet, so take that into consideration when purchasing plants. Many websites and vendors will keep “terrarium plants” in their own category, but don’t be afraid to do your research, and find something you really like.
–Many corks will fit a variety of different jars or bottles, especially champagne corks due to their variety in size and shape, in case you have a bottle but no way to seal it.
–Plants in closed terrariums will continue to grow. Leave enough space for your plants to fill in, being careful not to overcrowd them but not leaving anything too sparse.
Here’s what do:
- 1. Fill the bottom of your vessel with your drainage layer (pebbles, shells, etc.). Create a layer wide enough to hold excess water so that your roots don’t rot, but not so wide that you run out of room for adequate soil. The typical ratio of drainage layer is 1:2, the soil being at least twice as deep as the drainage layer so that plants have sufficient space to grow.
- 2. Next, add the soil. I keep my soil dry before adding it, as it is easier to maneuver about inside of the vessel during the design process.
- 3. Make space for your plants using the chopstick or tweezers. Gently place your plant(s) and move soil toward the base and roots. Moss can be laid on the soil and lightly tapped down. You can incorporate your décor at this stage as well, taking care not to crush any plants.
- 4. When you’re finished planting, water your terrarium by placing a funnel on the side of your jar, letting the water rush down the sides, helping clear the glass in the process. Your soil may absorb the water quickly and might expose some roots.
- 5. After an initial watering, see if your terrarium needs more soil. Use a scrap piece of paper for a homemade funnel that can reach specific spots in your terrarium. Some plants might need to be adjusted using the chopsticks or tweezers.
- 6. Water a bit more, making sure not to drown the plants, but enough that the soil is damp.
- 7. Close your terrarium with a lid!
Tips for your closed terrarium:
–Place your terrarium in a mostly shaded location. Windowsills that lack direct sunlight are a great option.
–The glass may steam up from time to time, which is normal. You can always open it and wipe it down for a nice view.
–If you’ve got the aerial space for it in your vessel, get creative by affixing a hanging decoration from the lid before you seal, like a star or a shell — a mini disco ball!
Enjoy your homemade “grow-globe!” Keep checking in with us at naplesgarden.org, as well as on our YouTube channel for more virtual content.
About the Author
 Kiva Talty is the Education Operations Manager at Naples Botanical Garden. While she isn’t a local, she enjoys experiencing the cultures, foods, craft beer, and festivals Southern Florida has to offer. She has a rambling spirit, and you might find her car camping while enjoying the landscapes of Florida that never cease to awe and surprise her.


